Why Understanding Camera Settings Actually Matters
Your phone's camera has more power than you think. Most people shoot with everything on automatic and hope for the best. But once you understand what's actually happening — why the photo looks too dark in that café, or why the sunset got blown out white — you'll take control of your results.
The thing is, it's not complicated. You don't need to memorize anything. You just need to understand three core ideas: how much light gets in (exposure), how sensitive the sensor is (ISO), and where the camera's focusing. That's it. Everything else flows from those three things.
Pro tip: You don't need to switch to Pro Mode immediately. Start by understanding what your phone's automatic modes are doing. Then you'll know when to step in.
Exposure: Let More Light In (Or Less)
Exposure is literally how bright or dark your photo is. When you tap the screen in camera mode, you're telling your phone where to meter the light. It's measuring how much light is hitting the sensor and adjusting accordingly.
See that little sun icon with a slider next to it? That's exposure compensation. Drag it up and the photo gets brighter. Drag it down and it gets darker. It's that simple.
Here's where people get confused: you can't make a properly exposed photo from one that's underexposed in post-production. Well, you can try, but you'll see tons of noise and lose detail. So get the exposure right in the camera. Indoor venues, overcast days, golden hour — these are all situations where you'll want to bump exposure up slightly. Bright beach days? You might pull it down to keep the sky from washing out.
ISO: When You Need The Sensor To Be More Sensitive
ISO controls how sensitive your phone's sensor is to light. Low ISO (like 100-400) means the sensor isn't very sensitive — you'll get clean, detailed photos but you need good light. High ISO (800-3200+) means the sensor is cranked up, super sensitive. You can shoot in dim light but you'll get graininess (called noise).
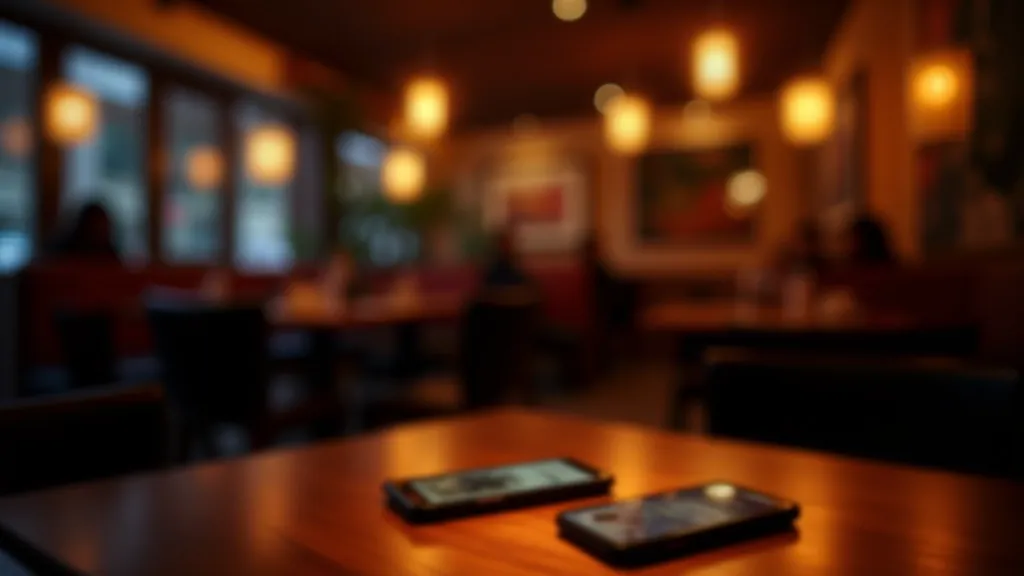
Most phones handle ISO automatically in Standard Mode. But if you're in Pro Mode, you can control it yourself. The trick? Use the lowest ISO that still gives you a usable shutter speed. In a dark restaurant, you might need ISO 1600 to avoid blur. But outdoors in daylight? Stick with ISO 100-200.
Don't stress about noise. A little grain is better than a blurry photo. You can clean it up slightly in editing. Blur? That's permanent.
Focus Modes: Where Is The Camera Actually Looking?
Focus is where your phone's lens is sharpest. In Auto Mode, it tries to guess what you're photographing. Usually it works fine. But sometimes it gets confused — like when you're trying to focus on a person but the background is more interesting to the camera.
Tap to Focus
Tap your subject on screen. The camera locks focus there. This is your main tool — use it constantly. If your subject moves, tap again.
Portrait Mode (if your phone has it)
Uses multiple lenses to focus on a person while blurring the background. Creates that professional-looking separation. Works best 2-8 feet from your subject.
Manual Focus (Pro Mode)
You slide a focus bar to manually adjust sharpness. Useful for macro shots or when auto-focus keeps hunting.
Here's a common mistake: people tap to focus but don't realize the exposure is now locked too. So you focus on someone's face, but their face is in shadow and your phone brightens the entire photo. The solution? Focus and expose separately. Tap to focus on your subject. Then, if needed, tap elsewhere to adjust exposure without changing where it's focused. Most phones let you do this if you hold your finger down after tapping.
White Balance: Warm Or Cool Light?
Your phone's camera needs to know what "white" actually is so it can color-correct everything else. In daylight, white is white. But under tungsten bulbs, white looks yellowish. Under fluorescent lights, it looks bluish.
Auto White Balance (AWB) usually does a decent job. But sometimes it overcompensates. If you're photographing a sunset, AWB might make it look less warm because the camera thinks the orange light is a mistake.
In Pro Mode, you can lock white balance to specific lighting conditions (daylight, tungsten, fluorescent). Or manually set it to a color temperature. Don't overthink this — AWB is fine for 90% of situations. But if a photo looks weirdly orange or blue, white balance might be the culprit.

Practical Tips: When To Actually Change These Settings
Indoor venue, low light
Tap to focus on your subject. Bump exposure up by 1-2 stops. If you have access to Pro Mode, increase ISO to 800-1200. Avoid digital zoom — move closer instead.
Bright sunny day, outdoor portrait
Use Portrait Mode if available. Focus on the eyes. Exposure should be normal or slightly reduced (the sun is doing your job). Position your subject so the light's coming from the side or behind — not directly into the camera.
Golden hour (sunrise/sunset)
Auto settings usually work here because the light is gorgeous. If AWB is making it look too cool or too warm, tap on the subject's face to meter light and color there. Don't use exposure compensation unless the subject's backlit.
Fast-moving subjects (kids, pets, sports)
Keep exposure at normal or boost it slightly. Make sure ISO is low enough that you're getting a fast shutter speed. Tap to focus on where they'll be, not where they are. Use burst mode (hold the shutter button) to capture multiple frames.
Quick rule: In bad light, increase ISO before you increase exposure. In good light, use low ISO and adjust exposure if needed. Focus first, expose second.
You've Got This
You don't need to remember everything in this guide. You don't even need to use Pro Mode. Start by understanding what exposure, ISO, and focus do. Then, the next time a photo doesn't look right, you'll know which setting to adjust. That's the real skill.
Photography is about seeing light. Your phone is just the tool. The more you shoot, the more your eye will improve. And yeah, understanding these settings helps. But the best camera is the one you have with you. Your phone qualifies.
Want hands-on guidance? We run workshops at Gallery of Photography Dublin and community arts centres across Kilkenny and Wexford. These aren't lectures — they're practical sessions where you'll shoot, adjust settings, and see results in real-time. Check out our creative workshops to find one near you.
Disclaimer
This guide is educational and informational. Camera settings and results vary significantly depending on your specific phone model, operating system version, and lighting conditions. We recommend testing these settings on your device to see how they perform. Results you achieve may differ from the techniques described here. Always consult your phone's camera manual or settings help for device-specific information. This content is not a substitute for hands-on practice or professional training.