Most people think you need expensive gear to make decent videos. That's not true. Your smartphone is genuinely capable of producing professional-quality footage—but there's a technique to it. The difference between shaky, unwatchable video and something you're proud to share comes down to planning, stabilization, and knowing a few essential editing steps.
We're going to walk through the entire process. From the moment you decide to shoot, through to the final edit. You'll learn what actually matters when you're holding a phone, and what you can safely ignore.
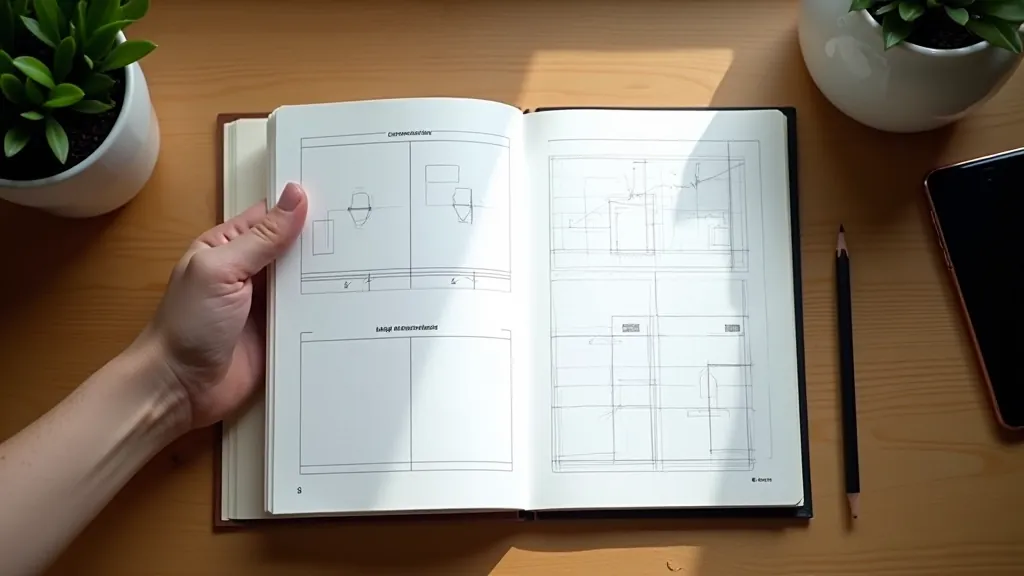
Planning Your Shot (Before You Hit Record)
This is where most people skip straight to shooting. And that's where most videos fall apart.
Spend 5-10 minutes planning. Ask yourself: What's the story here? Is this a wide establishing shot, a close-up detail, or a transition between moments? Where's your light coming from? Are you shooting into the sun or with it at your back?
Smartphone sensors handle backlight terribly. If you're shooting someone outdoors and the sun's behind them, their face will be dark and details lost. Position yourself so the light hits their face directly. You'll see an immediate difference.
And frame it properly. Don't just point and shoot. Think about composition—rule of thirds, leading lines, what you want in focus. It takes an extra 30 seconds but transforms your footage.
Scout Your Location
Check lighting at the time you'll shoot. Look for distracting backgrounds or elements you'll want to avoid.
Plan Your Shots
Wide, medium, close-up. Know which angles tell your story best.
Check Your Battery
Video drains phones fast. Bring a power bank or portable charger.
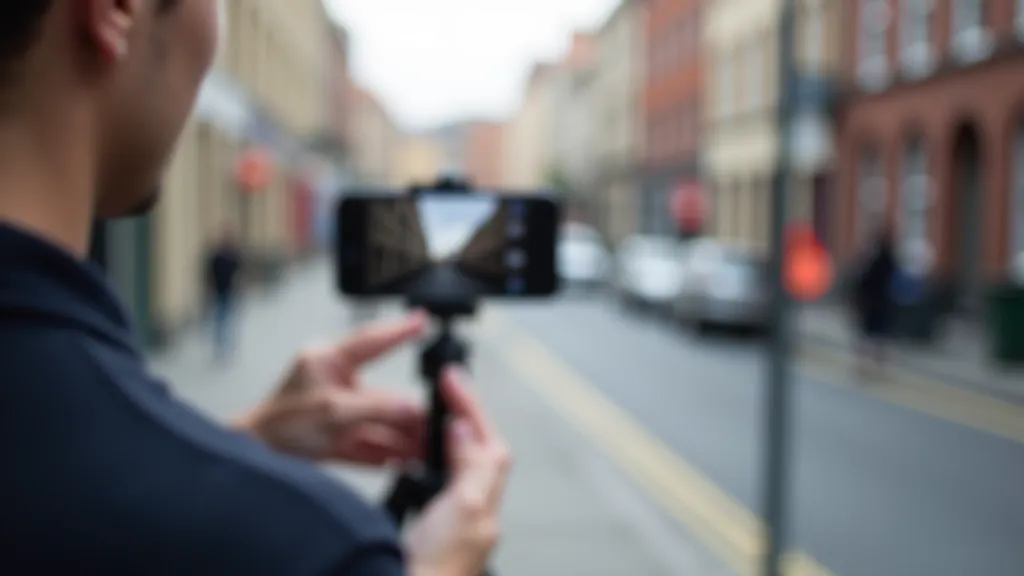
Stabilization: The Game-Changer
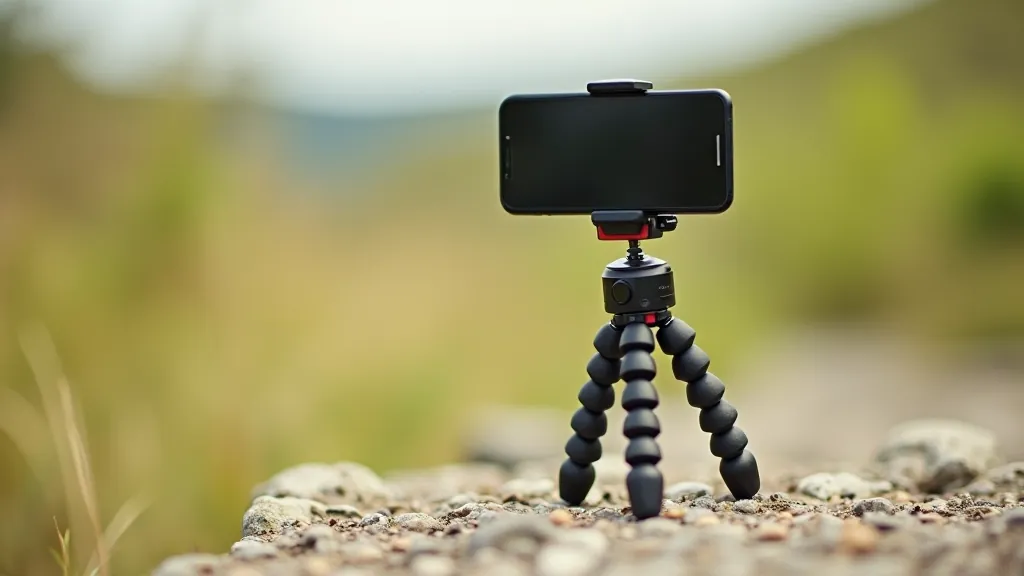
Shaky video is the #1 reason phone footage looks amateur. Your hands aren't steady enough, no matter how carefully you try to hold the phone.
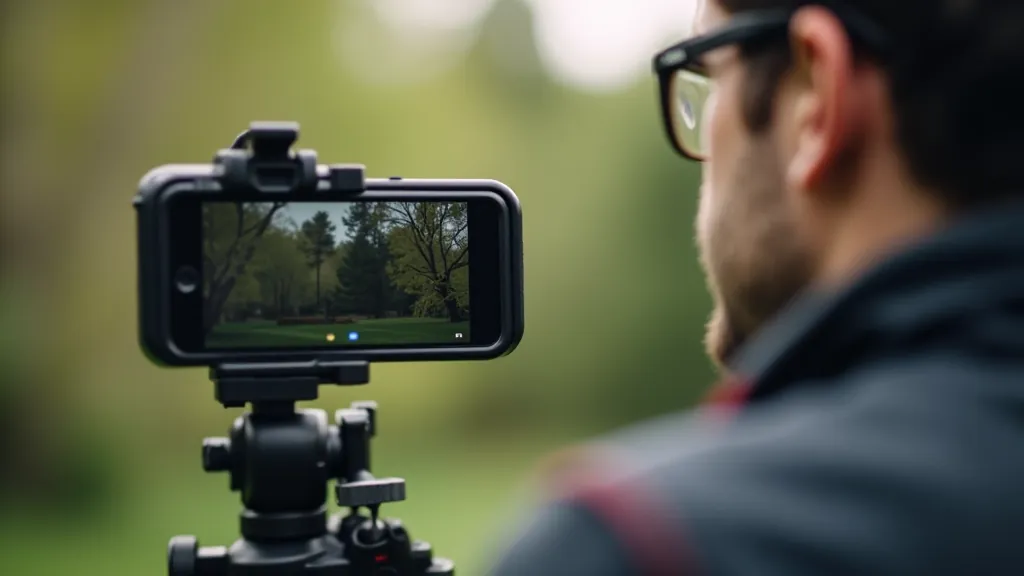
Get a tripod. You don't need anything fancy—a small tabletop tripod costs under €20 and makes an enormous difference. If you're moving while filming (walking, following someone), you'll want something more robust, but even a basic stand eliminates jitter.
If you're doing handheld work, enable your phone's optical image stabilization in the camera app. Most modern phones have this built in. It won't replace a tripod, but it genuinely helps smooth out minor movement.
Pro tip: When you're filming, move slowly. Fast pans and sudden movements will still look shaky even with stabilization. Slow, deliberate movements look intentional and professional.
Audio Is Half the Story
People forgive mediocre video. They won't forgive bad audio.
Built-in phone microphones are tinny and pick up wind, traffic, and every ambient noise around you. If you're recording speech, invest in an external microphone. A wireless lavalier mic (clip-on) costs around €30-50 and connects directly to your phone. The audio quality is noticeably better—clearer, less background noise, more professional.
Wind is your enemy. Even a slight breeze makes audio unusable. If you're outdoors and can't control wind, use a windscreen on your microphone. It's a cheap foam cover that makes a real difference.
Position your microphone 15-30cm from the speaker's mouth. Too far and you lose clarity. Too close and you get plosives (harsh "p" and "b" sounds). Get the distance right and you'll be amazed at how clear everything sounds.
Post-Production: Where It All Comes Together
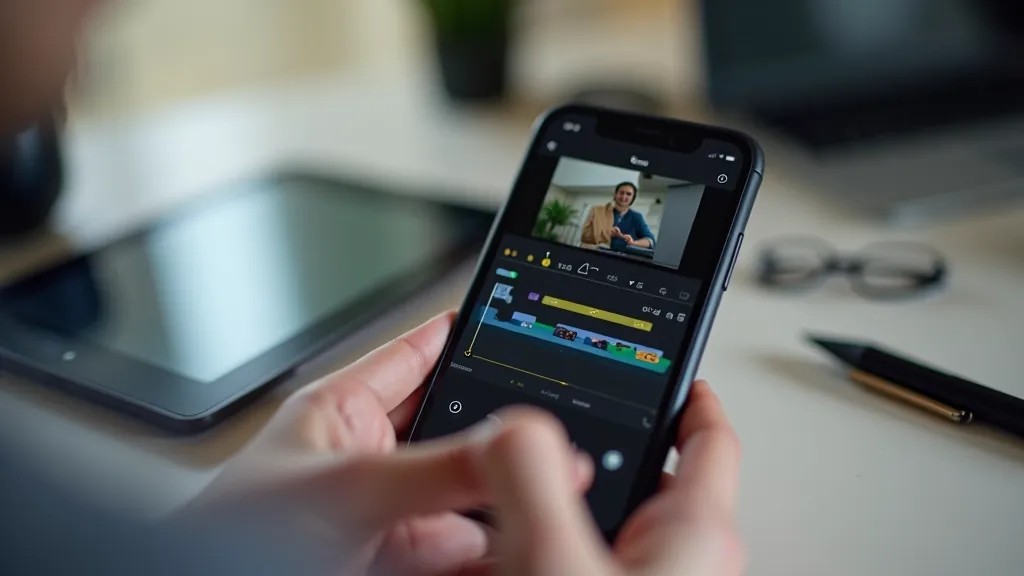
Your raw footage is rarely perfect. Editing is where you fix problems and create the final product.
Start with the essentials: cutting out pauses, removing mistakes, and arranging your shots in a logical order. That alone transforms footage. Apps like DaVinci Resolve (free) or Adobe Premiere Rush handle this beautifully on phones.
Color correction is next. Smartphone footage can look flat or have color casts depending on lighting conditions. A quick adjustment to contrast and saturation brings footage to life. You don't need to be aggressive—subtle adjustments are usually best.
Audio mixing is critical. Balance levels between dialogue and background sound. Remove harsh noise. Add subtle background music if appropriate. This is where you make dialogue sound crisp and professional.
Finally, pacing. Cut out dead time. Use transitions thoughtfully—not every cut needs a fancy transition, but strategic ones guide the viewer's eye and keep things moving. A 2-minute video should feel tight, not padded.
Essential Editing Steps in Order
- Import and organize footage into folders
- Create a rough cut—arrange shots in sequence
- Trim clips and remove gaps
- Color correct for consistency
- Mix and balance audio levels
- Add titles and graphics if needed
- Export at appropriate resolution
Phone video doesn't have to look like it was shot on a phone. Planning your shot, stabilizing your camera, recording clean audio, and spending time on editing—these aren't optional steps. They're the difference between footage you'll cringe at and footage you'll actually share.
Start simple. Pick one thing—maybe it's getting a tripod, or recording with an external mic. Master that. Then add the next element. Within a few projects, you'll be producing video that looks genuinely professional.
The best camera is the one you have with you. And right now, that's probably in your pocket.
Disclaimer
This article provides general educational information about mobile videography techniques and best practices. While we've covered industry-standard approaches, individual results vary based on equipment, lighting conditions, and personal skill level. Always check local regulations regarding recording in public spaces, and respect people's privacy when filming. Product recommendations are based on common industry usage and availability as of April 2026 and may change over time.